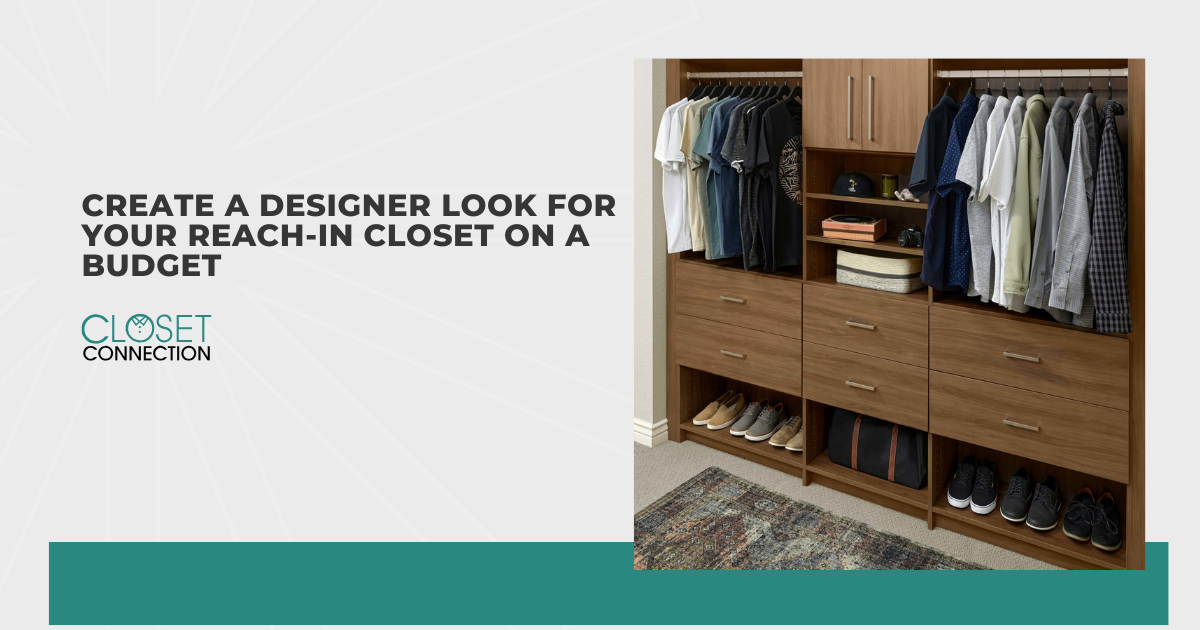
My reach-in closet used to be a black hole. Stuffed to the brim, impossible to keep tidy, and honestly—kind of embarrassing. I used to think you had to have a giant walk-in and a massive budget to get that polished, designer look you see online. Turns out, you really don’t. You just need the right strategy—and a little creativity.
I’m living proof that style and function don’t have to break the bank. I transformed my reach-in closet without spending thousands of dollars, and you can, too. Whether you’re working with a narrow nook or a wider built-in, I’m sharing all my tips that’ll help you turn your cluttered corner into a streamlined, stunning space:
- Understand your space
- Plan with purpose
- Add affordable design elements
- Style without the splurge
- Shop smarter
If you’re ready to make your closet feel like a boutique, even on a budget, let’s get into it.
Understand Your Space
Before I even looked at bins or rods, I grabbed a tape measure. Seriously—measure everything. The width, height, depth, and door swing. If it opens out, factor that in.
Next, I took stock of what was working (not much) and what drove me nuts (basically everything). A few common issues I had—and that I hear a lot—were:
- Long hanging space but no shelves for shoes
- No place for small accessories
- Everything looking cluttered, no matter how hard I tried
So, I made a list. Not a Pinterest wishlist—just a plain list of what I actually needed to store. Shoes, bags, jeans, blazers, jewelry. That step alone helped me stop overbuying random organizers I didn’t need.
Plan With Purpose
Budgeting isn’t the fun part, I know. But if you don’t set one, it’s easy to nickel-and-dime your way into overspending. I told myself I’d stick to $300 max—and I did. What helped was breaking my list into two columns:
- Must-Haves: A double-hang rod, at least two drawers, and vertical shelving.
- Nice-to-Haves: Slide-out baskets and some cute storage boxes.
I sketched a quick layout on graph paper, just to visualize where everything might go. If you’re more tech-savvy, there are free closet planning tools online. Even a rough draft will help you stay focused when you start shopping. Here’s a simple checklist that worked for me:
- Measure closet dimensions
- List items to store
- Divide items by type
- Prioritize must-haves
- Sketch a layout or use a free planner
Add Affordable Design Elements
Here’s where it gets fun—and functional. You don’t need custom-built cabinets to make a reach-in closet look high-end. A few well-placed elements can make all the difference.
- Double-Hang Rods: Want to double your hanging space instantly? Simply add double-hang rods. The clean, uniform rows of clothes look chic and intentional.
- Adjustable Shelving: I use adjustable shelving as flexible space for everything from shoes to folded sweaters. All in all, the uniform white shelves in my closet give it a minimalist, high-end look.
- Fabric Storage Cubes or Baskets: Use these to corral loose items like scarves, belts, or even tees. Try to max textures and tones to add cohesion to your space.
- Clear Acrylic Organizers: These are ideal for small things like jewelry or accessories.
Overall, they lend a polished look, letting you see everything at a glance.
Most of these are easy to swap out down the line if your needs change (trust me, mine always do).
Style Without the Splurge
This was the game-changer. I realized that even with just $20 to $50, I could make my closet feel like a boutique.
- Peel-and-Stick Wallpaper or Contact Paper: I added a subtle pattern to the back wall. It instantly made the space feel “done.”
- LED Motion Lights: I snagged a 2-pack online for under $20. Now, every time I open the closet, it lights up like a tiny runway.
- Matching Hangers: Swapping out my mismatched plastic ones for slim black velvet hangers elevated the whole vibe.
- Neutral Color Scheme: I chose beige bins, white shelves, and gold hardware accents. It looked coordinated and way more expensive than it was.
- Symmetry: Even if you’re storing random things, place bins or boxes symmetrically. It tricks the eye and makes the space feel balanced.
Shop Smarter
Budget makeovers are all about timing, patience, and knowing where to look.
- Shop Big Sales:
I scored half my setup during a Labor Day weekend sale. Keep an eye on holiday promos. The deals are out there.
- Check the Clearance Aisle:
Sometimes those slightly damaged or open-box organizers are perfectly usable. I saved $40 on a closet tower this way.
- Thrift It:
You’d be amazed what people donate—like designer-looking bins and nearly new drawer units.
- DIY When It Makes Sense:
I assembled my own closet tower with a little help from a YouTube video. Saved me $100+.
Here’s my personal “Save on vs. Splurge on” list:
Save on:
- Baskets and bins
- Hooks and hangers
- Decorative accents
Splurge on (if you can):
- Shelving or tower units
- Slide-out drawers
- Lighting
Conclusion
You don’t need a walk-in or a walk-in budget to have a reach-in closet that looks amazing and works even better. With smart planning, the right accessories, and a little creativity, you can design a space that feels just as luxurious as it is functional. Trust me—once you’ve got a closet that works for you, everything else gets a little easier. And if you’ve done a budget-friendly closet makeover yourself? I’d love to hear your best tip—drop it in the comments or share a photo.

